Currently 2 versions of the AMD 64/FX CPU-Kits are avaiable. The first and oldest one contains both spacers and rubber rings. In the latest and newest version both spacers and rubber rings have been eliminated to emphasize the ease of installation.
 The needed componets: The needed componets:
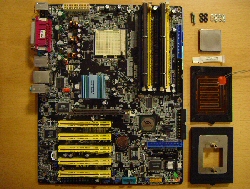
Here you have all the pieces necessary to assemble the Prometeia Hermetic Cell with your processor and motherboard.
 Make ready the back bracket: Make ready the back bracket:
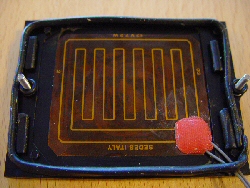
1. Mount the heating element.
2. Place 1 line of sealstring at the bracket edge.
3. Insert screws in the edge holes of the bracket.
Old version only
4. Place 1 spacer on each screw.
5. Place 1 rubber-ring on each screw.
 Back bracket position: Back bracket position:
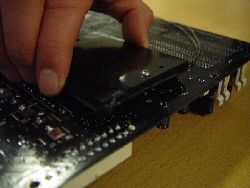
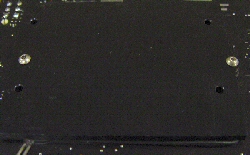
Make sure the bracket has the correct position on the motherboard. The straight line edge of the bracket should be placed towards the edge of the motherboard running in parallel as shown in the picture. Confirm that the screws has passed through the mounting holes.
 CPU: CPU:
Insert the CPU into the socket.
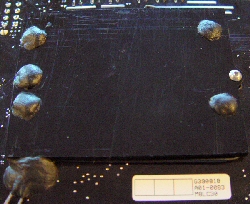
 Additional rubber-rings & spacers: Additional rubber-rings & spacers:
Old version only
1. Place 1 rubber-ring on each screw.
2. Place 3 spacers on each screw.
 Prepare the front bracket: Prepare the front bracket:
1. Metal clip is pre-installed and ready.
2. Place 2 layers of seal string around the edges.
 Connecting front & back bracket: Connecting front & back bracket:
Align the back bracket screws to fit the front bracket holes and tighten the screws until the kit has a firm grip.
 Again make sure the front bracket has the correct position on the motherboard. The straight line edge of the bracket should be placed towards the edge of the motherboard running in parallel as shown in the picture. Again make sure the front bracket has the correct position on the motherboard. The straight line edge of the bracket should be placed towards the edge of the motherboard running in parallel as shown in the picture.
 Sealing off the screws: Sealing off the screws:
Always remember to seal the screws and holes on the back plate to prevent condensation as shown in the picture.
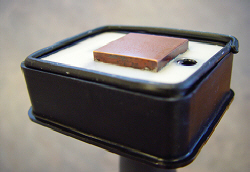 Applying the microfreezer: Applying the microfreezer:
Place 1 layer of seal string around the edge of the Microfreezer.
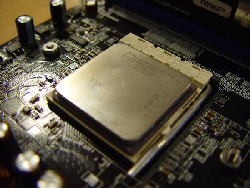
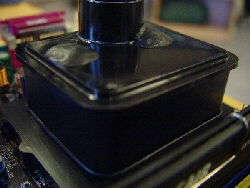 Apply the thermal compound onto the CPU head. Place the Microfreezer onto the metal clip and tighten the 2 screws and turn them until you feel that they are in the bottom of the threaded brass stands. It is a good idea to tighten them almost simultaneously. Finally place some seal-string on top of the screw, to seal them off entirely. Apply the thermal compound onto the CPU head. Place the Microfreezer onto the metal clip and tighten the 2 screws and turn them until you feel that they are in the bottom of the threaded brass stands. It is a good idea to tighten them almost simultaneously. Finally place some seal-string on top of the screw, to seal them off entirely.
|